How to Create a Digital Daily Planner
Creating a Digital Daily Planner is one of the most effective ways to reclaim your focus and bring order to a chaotic schedule. By moving your tasks and goals into a flexible, accessible format, you gain total control over how you spend your energy throughout the day.
Whether you prefer a minimalist layout or an intricate system filled with colorful trackers, building your own tool ensures that it actually fits your unique workflow. You will learn how to design a system that works for you, helping you stay consistent with your habits and clear about your priorities without feeling overwhelmed by complex, pre-made software.
Selecting Your Design Platform
The first step in your journey involves choosing the software that will house your vision. While there are many options, most people find that using a design-focused tool like Canva provides the best balance of ease and creative control.
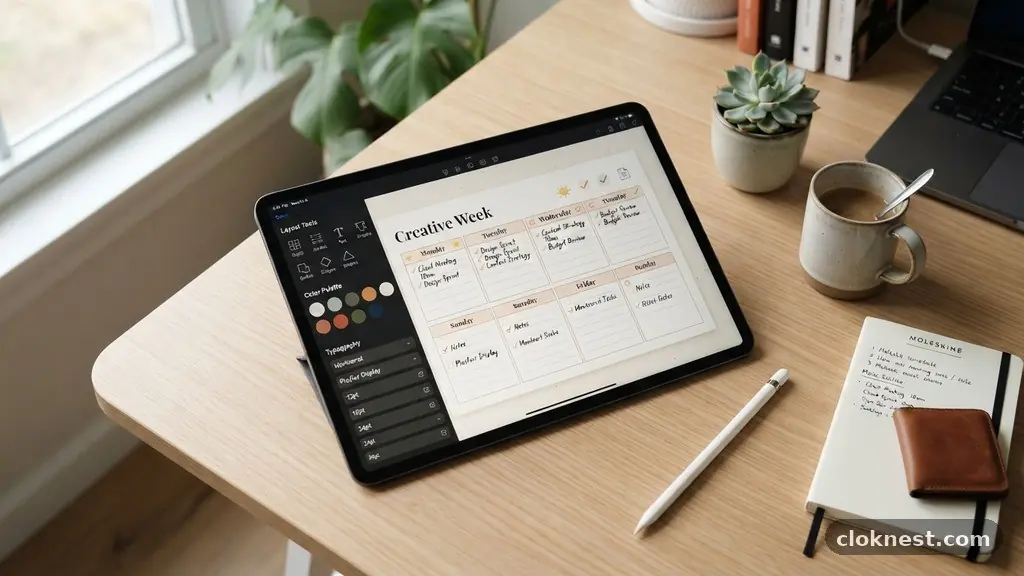
These platforms offer pre-built templates that you can strip down or build upon, allowing you to focus on the structure of your day rather than worrying about graphic design principles from scratch. If you are comfortable with more advanced software, tools like Adobe InDesign or even specialized note-taking apps like GoodNotes or Notion can serve as excellent foundations.
A common mistake is choosing a platform that is too complicated for your current skill level. If you spend three days trying to learn the intricacies of vector software just to make a simple to-do list, you will likely burn out before you even use your planner. Start with something intuitive.
If you can drag and drop elements, you have enough technical skill to build a functional and beautiful daily tool. Remember that your goal is to support your productivity, not to master a new software suite.
Structuring Your Daily Layout
When you begin the actual design, focus on the core components that dictate your day. A successful daily page usually starts with a clear space for your top three priorities. If you try to list twenty tasks, you will inevitably feel defeated by midday.
By limiting yourself to a few high-impact objectives, you create a sense of accomplishment that fuels your momentum for the rest of the day. You should also include a time-blocking section, which helps you visualize how your hours are being allocated across your various responsibilities.
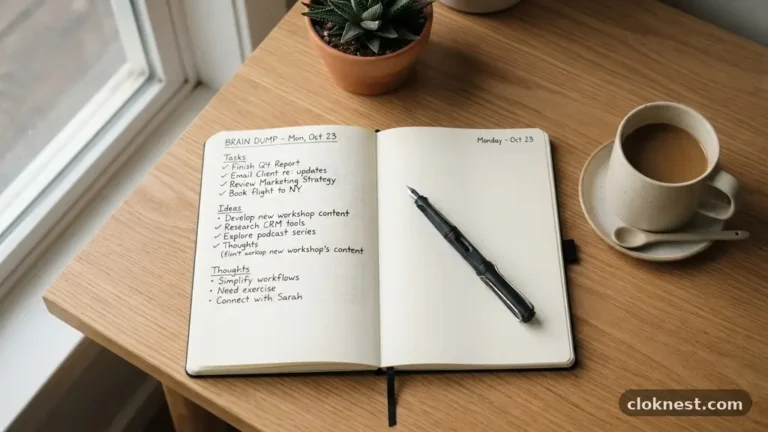
Consider adding a space for notes or brain dumps. Your mind is for having ideas, not holding them, so having a dedicated area to capture random thoughts as they occur keeps your main task list clean. Avoid cluttering the page with too many trackers or decorative elements that don’t serve a specific purpose.
If you find yourself staring at a beautifully decorated page but not knowing what to do next, your design is working against your goals. Keep it functional first, and add the aesthetic touches only after the core structure proves useful.
Designing for Hyperlink Navigation
The biggest advantage of a digital planner over a paper one is the ability to move instantly between sections using hyperlinks. This feature allows you to jump from your daily view to your monthly calendar or your goal-setting pages with a single tap.
To implement this, you need to create a master index page that acts as the hub of your planner. Every other page should ideally have a small icon or tab that links back to this index, ensuring you never get lost in a long document.
Many users struggle with the technical aspect of creating these links. If you are using a tool like Canva, you can select any element—like a text box or a shape—and apply a link to a specific page within the document. When you export your final file as an interactive PDF, these links remain active.
The most frequent error here is forgetting to add a “home” button on every page. Without a clear way to navigate back to your starting point, your digital planner will quickly feel like a disorganized mess that is more annoying to use than a simple notebook.
Testing Your Workflow Before Finalizing
Before you commit to a complex design, run a test phase for a few days. Use a simple version of your planner to track your actual tasks and see if the layout matches your internal rhythm. Do you find yourself running out of space in the notes section?
Is the time-blocking grid too granular or not detailed enough? These are the types of questions that only surface once you are actually using the tool in real-time. It is much easier to iterate on a draft than to rebuild a finished product.
Do not be afraid to iterate frequently during this phase. You might discover that you prefer a vertical task list over a horizontal one, or that you need a dedicated section for tracking water intake or meal planning. By testing early, you ensure that the final version of your planner is a reflection of your actual habits.
If something feels forced or awkward, change it. The beauty of a digital system is its malleability; you are never locked into a design that no longer serves your current needs.
Integrating Your Planner into Daily Life
Once your design is polished, the challenge shifts from creation to consistency. A common pitfall is treating your planner as an archive rather than a live, breathing tool. You should keep your file in a location that is easily accessible, such as a cloud storage folder that syncs across your phone, tablet, and computer.
If you have to dig through five subfolders to open your planner, you will stop using it within a week. Make it the first thing you open on your device each morning.
Consider building a morning routine around your planner. Spend five minutes while you drink your coffee or tea to fill in the day’s tasks and review your long-term goals. This practice turns your planner from a static document into a tool for mindfulness and intentional living.
If you find yourself skipping days, don’t view it as a failure. Simply pick it back up the next day. The goal is to create a habit of reflection, and that requires grace and patience as you adjust to the new rhythm of your day.
Utilizing Digital Tools for Task Management
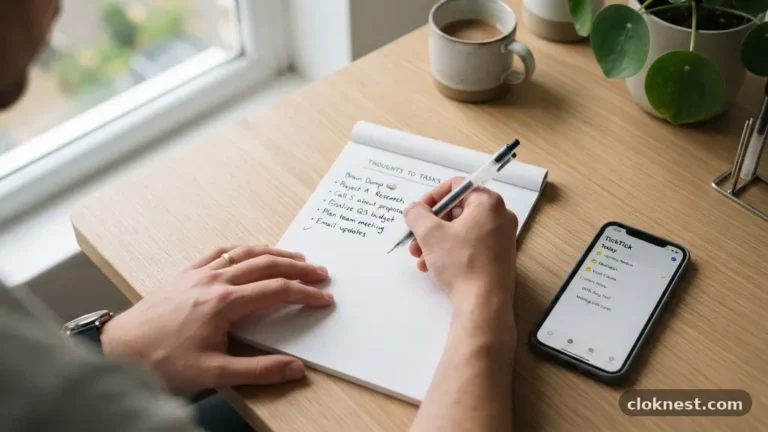
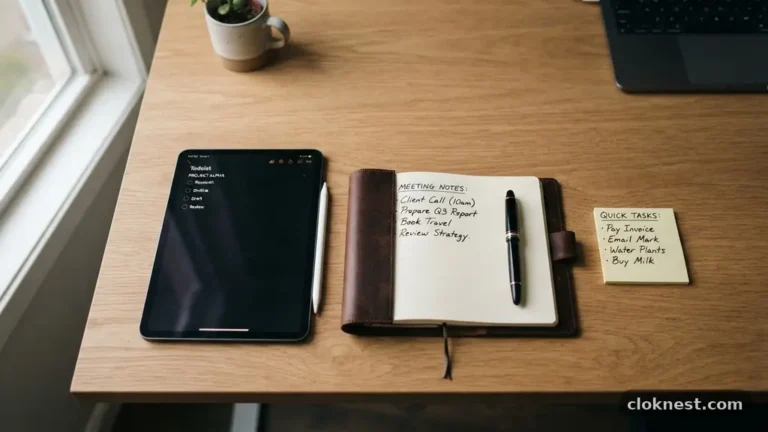
While your planner provides the structure, you can enhance it by integrating other digital tools. Many people find success by linking their planner to their digital calendar, so they don’t have to write down scheduled meetings twice.
You can use your planner for the “what” and the “why,” while using your calendar for the “when.” This division of labor keeps your planner from becoming a cluttered mess of appointment times, allowing you to focus on the quality of your work rather than the clock.
You can also experiment with digital stickers or custom icons if you enjoy the visual side of planning. These can help categorize tasks by project or priority level, giving your day a sense of visual hierarchy. However, be cautious not to spend more time decorating your pages than actually planning your tasks.
The goal is to spend less time managing your life and more time living it. Use visual elements as a reward for staying organized, not as a distraction from your actual responsibilities.
Scaling Your System Over Time
As you get more comfortable, you might want to expand your planner into a more comprehensive system. You could add monthly review pages where you look back at your progress and adjust your goals for the coming weeks.
Some people also enjoy adding dedicated sections for habit tracking, reading lists, or financial planning. By slowly adding these modules, you can turn a simple daily page into a complete life-management system that grows alongside your changing priorities.
The key to scaling is to keep everything modular. If you decide you no longer need a page for meal planning, you should be able to remove it without breaking the links or the structure of the rest of your document.
Keep your master file organized in layers or separate files so that you can easily swap out pages as your needs evolve. This modular approach ensures that your planner remains a lean, efficient tool that supports your growth rather than a bloated file that slows down your workflow.
Common Troubleshooting and Refinement
Even with a well-designed system, you will eventually hit snags. Perhaps your file size becomes too large because of high-resolution images, making it slow to load on your tablet. If this happens, try compressing your images or using simpler design elements to improve performance.
Speed is essential for a tool you intend to use multiple times every single day. If the app lags, your brain will subconsciously look for excuses to avoid opening it.
Another frequent issue is accidental deletion or misalignment of elements. When you have a complex layout with many layers, it is easy to shift things around by mistake. Always keep a backup copy of your master file in a separate folder.
If you ever accidentally delete a crucial hyperlink or ruin a page layout, you can quickly restore it from your backup. Being prepared for these small technical hiccups prevents the frustration that often leads people to abandon their planning systems entirely.
Frequently Asked Questions
Can I create a digital planner without advanced design skills?
Absolutely. You do not need to be a professional designer to build a functional planner. Many platforms like Canva provide drag-and-drop templates that allow you to customize layouts, fonts, and colors without needing to understand complex software or coding.
What is the best way to keep my digital planner synced across devices?
The most reliable method is to store your planner file in a cloud-based service like Google Drive, iCloud, or Dropbox. By keeping your file in these folders, any changes you make on your computer will automatically update on your tablet or smartphone, ensuring you have access to your tasks wherever you go.
Are there free resources available for creating these planners?
Yes, many creators offer free templates and design elements online. You can start by using the free versions of design software to create your pages. You only need to pay if you decide to purchase specific digital assets like custom stickers or advanced templates, which are entirely optional.
How do I make my digital planner interactive?
To make your planner interactive, you need to use a program that supports hyperlink functionality, such as Canva or Adobe InDesign. You can link text or shapes to specific pages within the document, then export the file as an interactive PDF to maintain those links when you open it in an app like GoodNotes or Notability.
What is the best app for using a digital planner on an iPad?
While personal preference plays a big role, apps like GoodNotes and Notability are widely considered the standard for digital planning on tablets. These apps allow you to write on your PDF with a stylus, use digital stickers, and navigate your hyperlinks smoothly.
Final Thoughts on Your Planning Journey
Creating a Digital Daily Planner is a deeply personal project that pays dividends in your daily productivity and peace of mind. By building a tool tailored to your specific needs, you eliminate the friction that comes with using generic templates that don’t quite fit your life. Start small, focus on the core functionality that keeps your tasks organized, and allow yourself the flexibility to refine your design as you learn more about your own habits.
Remember that the ultimate purpose of this system is to provide clarity, not to add another layer of maintenance to your routine. As you continue to use and adapt your planner, you will likely find that it becomes an essential partner in your daily success. Take the first step today by sketching out your ideal daily flow, and enjoy the satisfaction that comes with creating a tool that truly works for you.